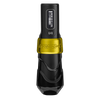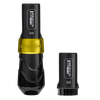
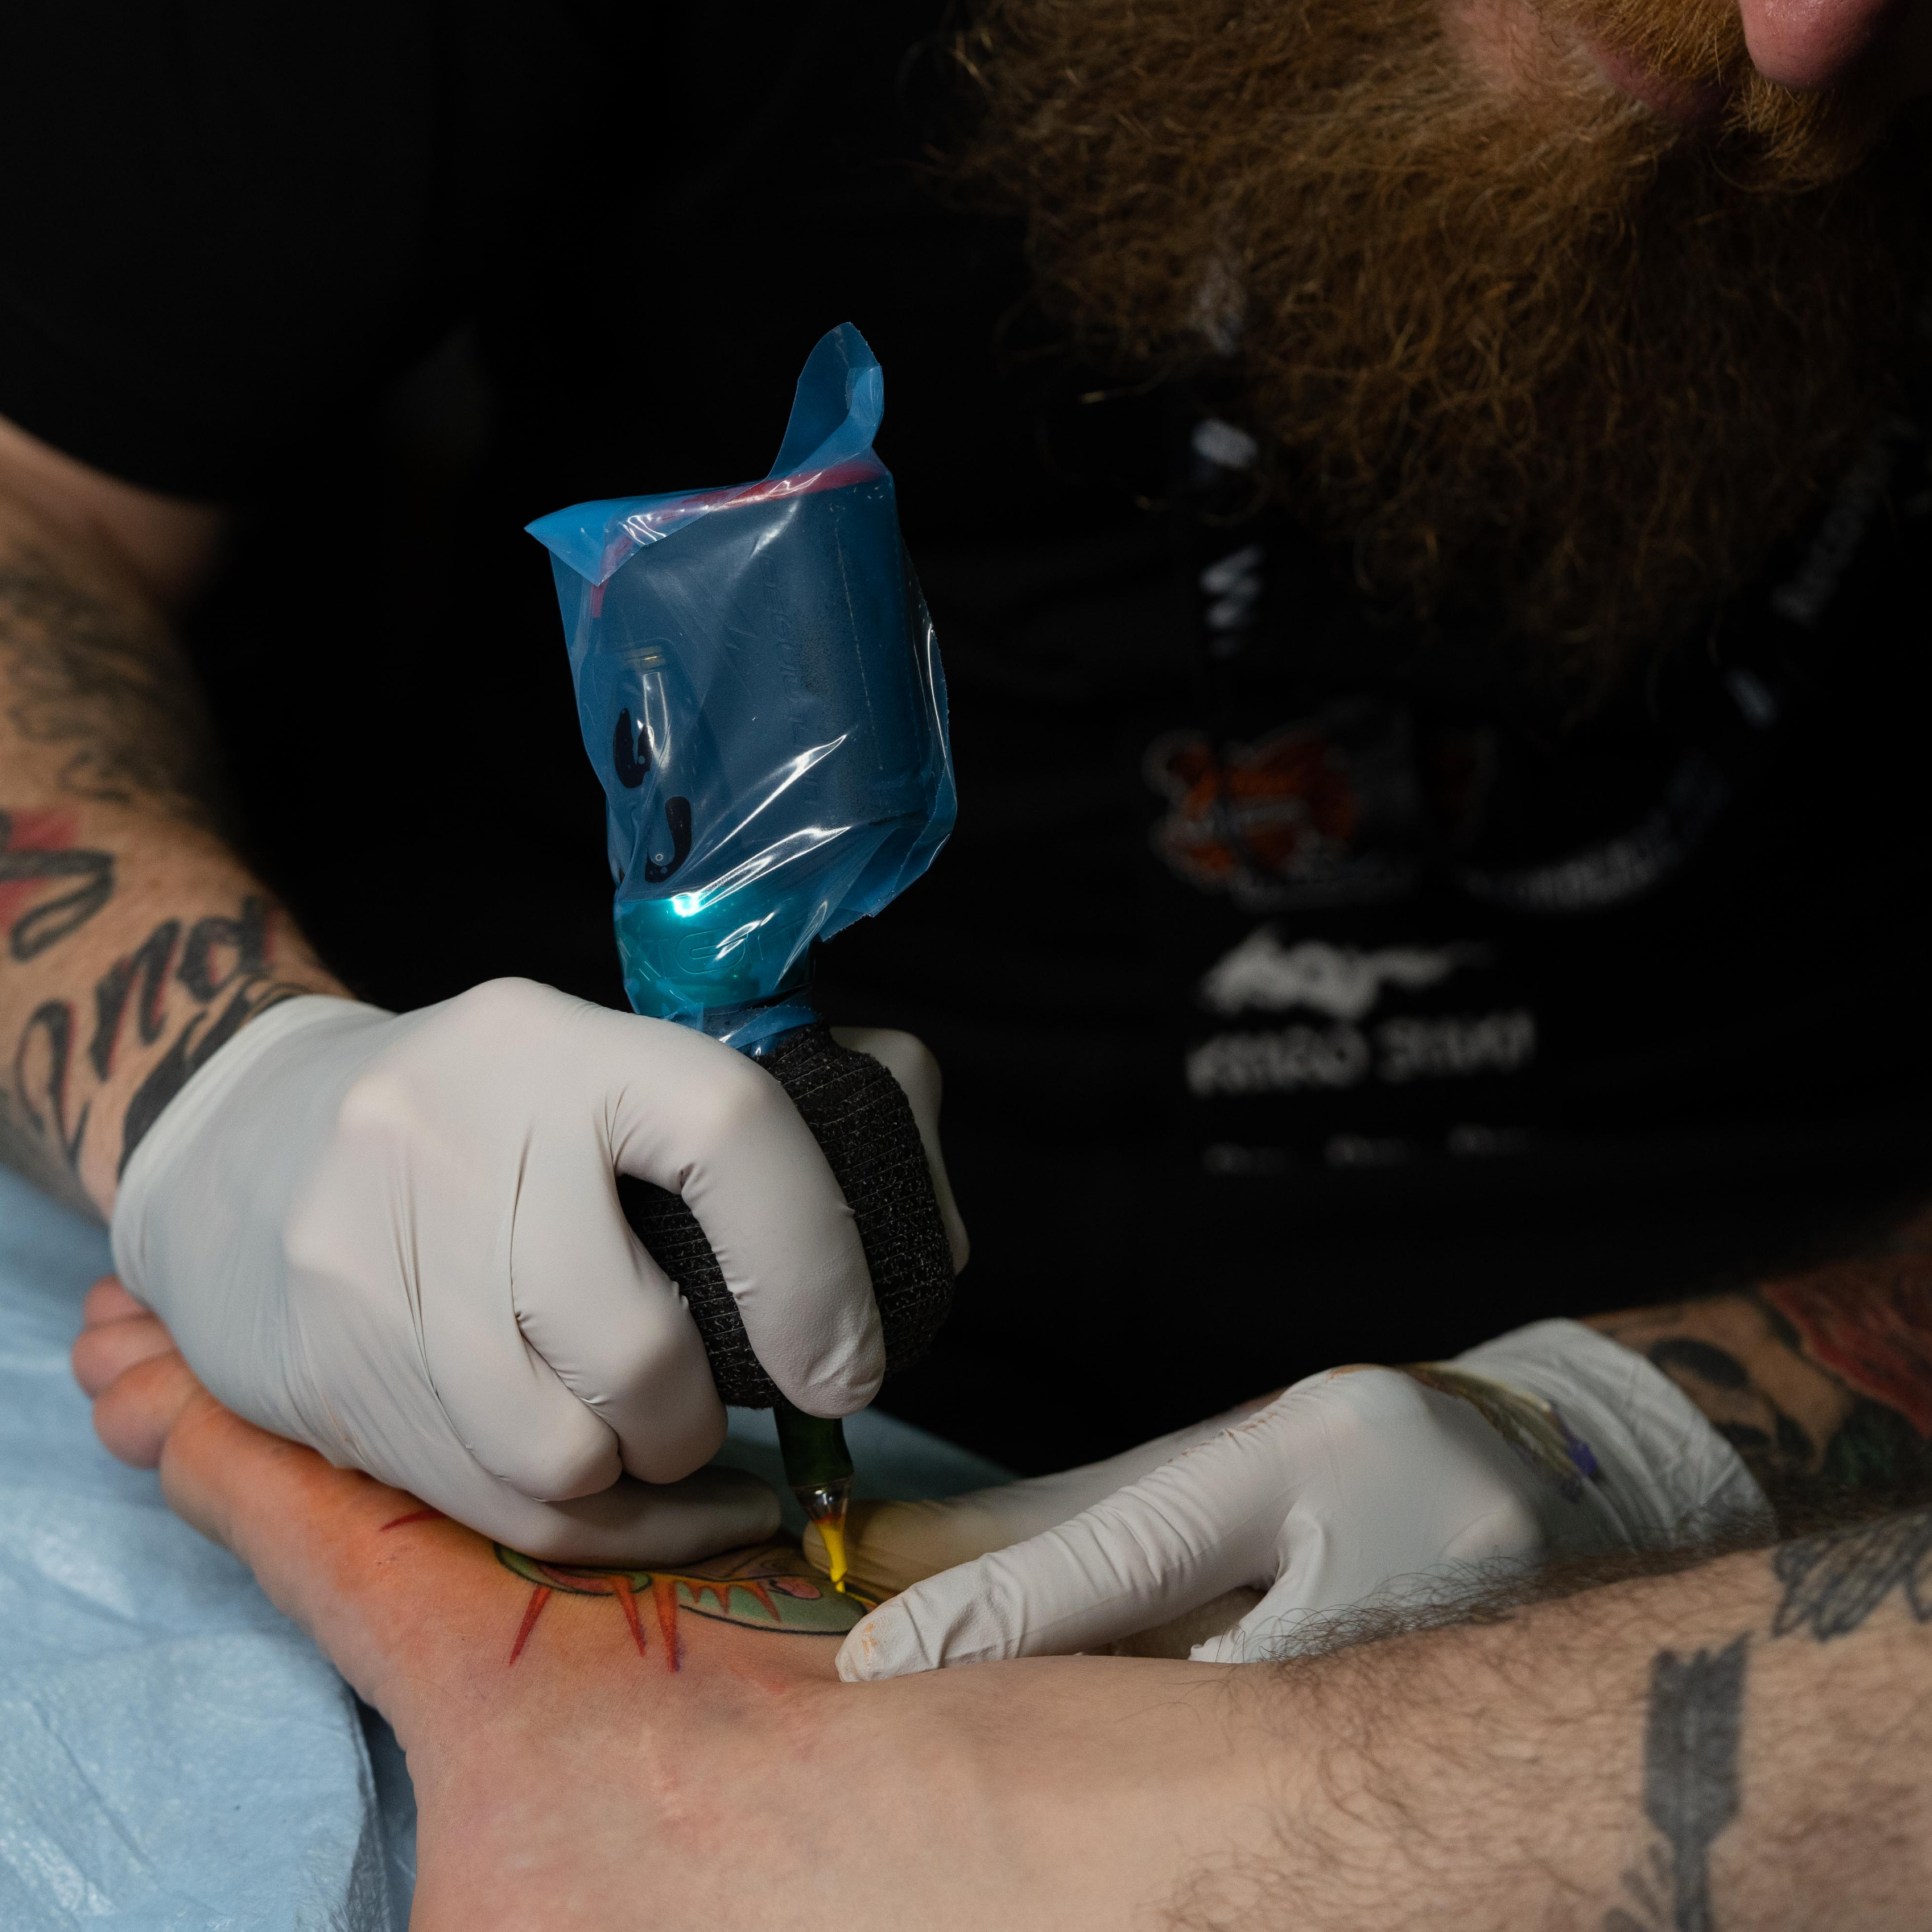
You need more than just talent to perform at your best. . Lining, shading, color packing, and any technique you can think of all depend on how your machine performs. If your gear fails, your craft suffers.
Mastering tattoo machine maintenance helps to ensure the longevity of your work and your gear. It isn't just about cleaning, sanitizing, and replacing spare parts. It’s about respecting the craft and the equipment that makes your vision possible.
Why Tattoo Machine Maintenance Is Critical

Here's an in-depth look at why maintenance is so critical for artists who refuse to settle for "good enough".
1. A Clean Machine Means Consistent Performance
If your machine is full of dust or old ink, it can affect how smoothly the motor runs. This can lead to stalls or inconsistencies during your sessions. Keeping your machine clean and sanitized helps it run more efficiently, so it performs closer to the way it’s intended, giving you more consistent results from start to finish.
2. Reliability During Long Sessions
Long tattoo sessions take a toll on your body and your gear. You don't have time for second-guessing or equipment failure when you’re in the zone. A well-kept machine won't quit on you during a demanding twelve-hour session. Routine tattoo machine care makes your tools reliable so you can stay focused on the work that matters.
3. Faster Healing
When your machine and grips are properly sanitized, you reduce the risk of infection and skin trauma. This leads to better results for your client and a portfolio that stands out in the industry.
Every machine you own is an investment in your future success. Taking the time to care for your tools shows that you're a professional who values mastery over everything else.
How to Maintain Your Tattoo Machine
Here’s how to take care of your equipment so it performs at its best, every single time.
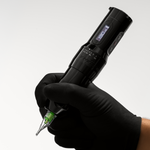
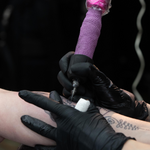
Step 1: Clean the Surface After Every Session
Surface cleaning is your first line of defense. It keeps your workspace professional and your clients safe.
- Grab a professional-grade disinfectant wipe, such as CaviCide, after you finish every procedure.
- Wipe down the entire body of your machine to remove any ink, blood, or fluids.
- Clean the power cord and the grip, tooBacteria can hide on these surfaces, so don't skip this step.
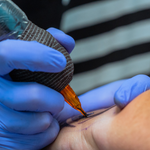
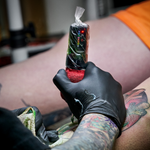
Step 2: Deep Clean and Sterilize Your Gear

Wiping the surface is a good start, but it doesn't reach the hidden spots where ink and debris can build up. To properly clean a machine, you must disassemble it so every component is accessible. The grip, in particular, should be removed from the machine body for thorough cleaning. This ensures that no residue is left in hard-to-reach areas.
If the grip is made of stainless steel or aluminum, you should put it in an autoclave for sterilizing after every use. For grips made from other materials, follow the manufacturer’s recommended cleaning and sterilization methods.
Proper disassembly, cleaning, and sterilization are essential steps to ensure both client safety and professional standards. Skipping these steps or relying only on surface cleaning puts hygiene and safety at risk.
Step 3: Inspect Your Parts for Wear
Small parts may seem negligible, but they’re the foundation of your machine's daily performance. You should check your springs and O-rings regularly for any signs of wear or damage. If a part looks dry, cracked, or loose, replace it immediately. Don't wait for a failure to happen mid-sessionKeeping quality spare parts is a simple way to ensure you always have a backup in the event of failure during a tattoo.
Step 4: Lubricate the Moving Parts
Lubrication keeps your machine moving smoothly and your lines consistent. Without it, friction builds, control drops, and your machine works harder than it should. When it comes to lubrication:
- Follow your manufacturer’s guidance—only lubricate if the manual calls for it.
- Use a small amount of the correct oil. Just enough to reduce friction and keep components moving cleanly.
- Avoid over-lubricating. Excess oil attracts dust, ink, and debris, which can clog the system and slow performance.
Step 5: Protect the Motor During Reassembly
Modern rotary and pen machines are precision-engineered tools built for mastery. When you put your machine back together after cleaning, don’t overtighten the screws. Overtightening puts unnecessary stress on the internal motor. This can cause the motor to burn out early or lose power, which stops you from creating at your highest level.
Step 6: Store Your Machine Safely
Your machine is an investment in your future, so store it with care.
- Keep it in a clean, dry place when the day is done.
- Avoid areas with high humidity or direct sunlight.
- These elements can damage the electronics and the finish of your tool
- Dry the tattoo machine thoroughly to avoid rust and failure.
Proper tattoo machine care leads to faster healing and better results, which helps you dominate your craft. If you want to learn more about your gear, check out our tattoo machine glossaryOpens a new window or read our essential beginner guideOpens a new window.
Build a Maintenance Routine That Supports Better Work
When you take care of your tools, they help you reach mastery. Explore our collections of FK Irons tattoo machinesOpens a new window to find your next premium machine, and be sure to take care of it using all the tips in this guide. Step up, stand out, and create something legendary with a machine that’s working at its best