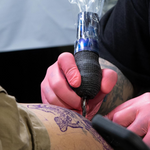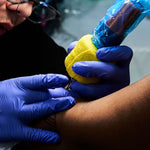

Struggling with inconsistent lines or patchy shading? It’s frustrating when your vision doesn't match what’s on the skin. Most of the time, the issue isn't your talent—it’s your technical setup. You shouldn't have to fight your gear to get the results you want, and this guide will help you realize why. It breaks down the relationship between tattoo machine stroke and your speed behavior. You’ll learn how to master your machine settings to gain total control over every pass you make.
Understanding Stroke Length and Needle Impact
The stroke length of your machine determines how far the needle moves and how hard it hits the skin. Think of it as the "swing" of a hammer. A longer swing creates more momentum and a harder hit, while a shorter swing is faster but lighter.
- Short Stroke (2.5mm – 3.0mm): This setup moves the needle a shorter distance, resulting in less force at impact. It’s the go-to choice for smooth black-and-grey shading. Because the impact is softer, it’s much harder to overwork the skin, allowing you to build up soft gradients and transitions slowly.
- Medium Stroke (3.5mm): This is the all-rounder of the tattoo world. It provides enough punch for solid lines and enough finesse for shading. If you’re just starting to explore different techniques, this is a reliable middle ground.
- Long Stroke (4.0mm+): This is built for power. A long stroke gives the needle more momentum, making it perfect for packing solid color and pulling bold, confident lines. It punches through skin resistance easily, but you have to be precise and controlled to avoid causing unnecessary trauma.
Knowing your stroke length is the first step toward predictable results. It’s the difference between a machine that fights you and one that follows your lead.
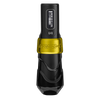
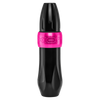
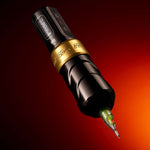
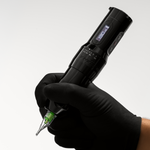
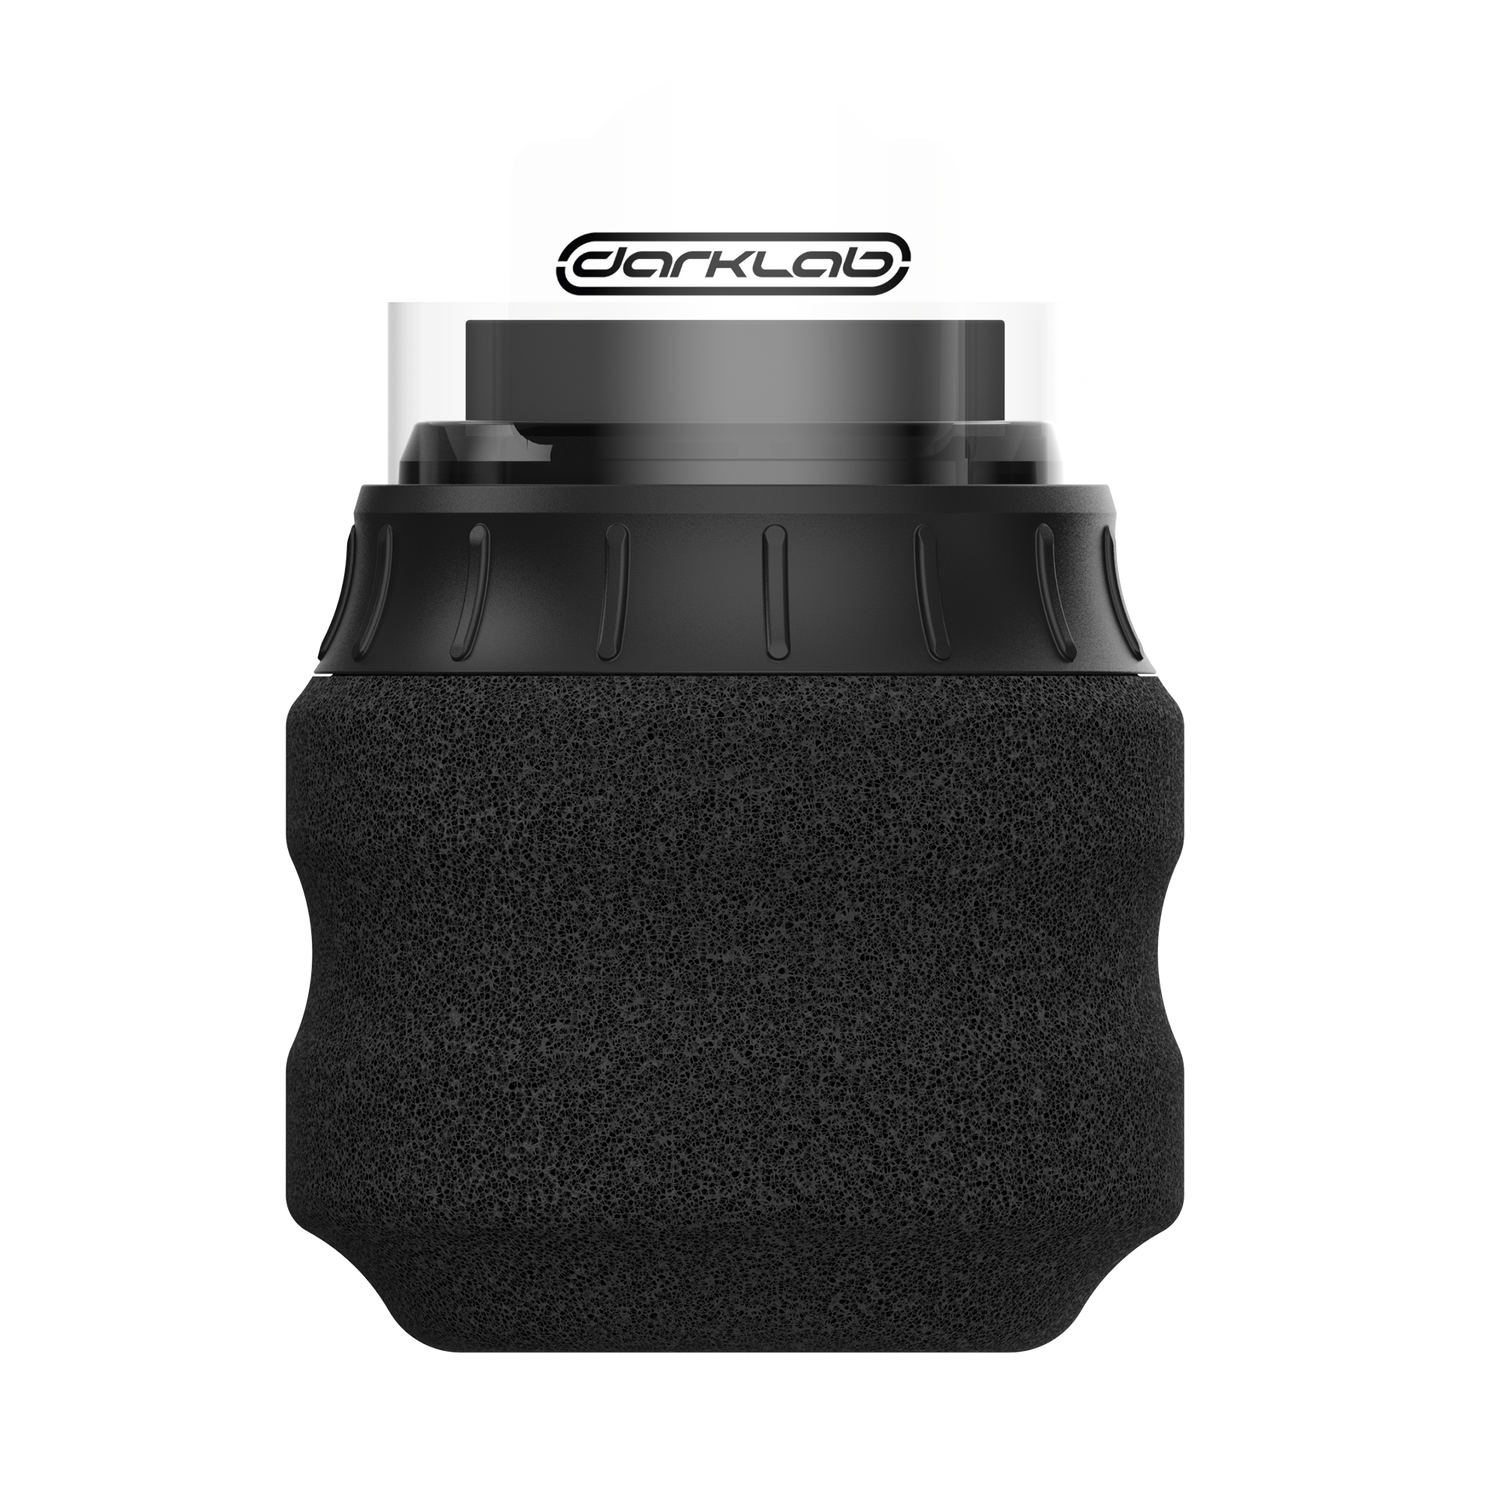
In the past, switching techniques often meant stopping to swap cams or reaching for a different machine entirely. The FK One AdjustOpens a new window eliminates that hurdle. With an adjustable stroke that you can dial in mid-session, you have the power to transition from soft shading to bold linework in seconds.
By using a machine that adapts its stroke length on the fly, you don't have to buy multiple setups or waste time with manual adjustments. It’s about having one tool that stays as versatile as your artistry, keeping your focus where it belongs—on the skin.
Quick Reference: Best Stroke Length by Technique
|
Technique |
Recommended Stroke |
Why It Works |
|
Linework |
3.5mm – 4.2mm |
Provides the "hit" needed to deposit ink in one pass. |
|
Color Packing |
4.0mm+ |
Maximum momentum for saturated, solid fills. |
|
Whip Shading |
3.5mm – 4.0mm |
The "swing" helps create that distinct peppered texture. |
|
Soft Shading |
2.5mm – 3.0mm |
Minimizes trauma for smooth, layered transitions. |
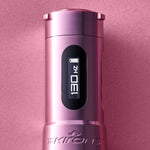
The Relationship Between Voltage and Hand Speed

Voltage is the "speed" of your machine, or how many times the needle cycles per second. However, higher voltage doesn't always mean a better tattoo. The secret to clean work is the balance between your machine's speed and your hand movement.
Increasing the voltage increases the needle's frequency. This means the needle hits the skin more often in a shorter amount of time. If your voltage is high but your hand moves too slowly, you risk overworking the skin and causing unnecessary trauma. The needle is hitting the same spot too many times before you move on.
On the other hand, if your voltage is too low while your hand moves fast, you’ll end up with "dashed" or "snagging" lines. This happens because the needle isn't hitting the skin often enough to create a solid, continuous path of ink. You’re essentially moving faster than your machine can keep up with.
Why "Turning It Up" Isn't the Answer for Saturation
Many artists think that higher voltage leads to faster saturation, but that's a common misconception. If your voltage is too high for your hand speed, you're more likely to cause swelling and skin damage, which actually makes it harder for the skin to take the ink.
Saturation is about consistency, not just raw power. When you find that "sweet spot" where your hand speed matches the needle's rhythm, the ink flows effortlessly, and the skin stays healthy.
How to Dial in Your Settings for Linework
Why are my tattoo lines inconsistent? This is one of the most common frustrations for artists in their first few years. You might find that your lines are shaky, "dashed," or require multiple passes just to look solid. Most of the time, this isn't a steady-hand issue—it's a setting issue.
For crisp, one-pass tattoo machine settings for linework, the standard technical setup is a higher voltage paired with a medium-to-long stroke.
The "Why" Behind the Setup
When you pull a line, you're moving your hand at a relatively constant speed. To get a solid line of ink, the needle needs to hit the skin with enough force to overcome resistance and enough speed to fill the gap before your hand moves on.
If you try to use a short stroke for bold tattoo machine settings for linework, the needle often doesn't have enough momentum to complete the stroke. Instead of piercing the skin cleanly, the needle might "bounce" off the surface. This results in faint lines or ink that sits too shallow to stay. By using a longer stroke (3.5mm to 4.2mm), you give the needle the "swing" it needs to punch through and deposit a consistent amount of pigment.
Troubleshooting Inconsistent Lines
You might probably be asking yourself: Why are my tattoo lines inconsistent? If you're still seeing skips or light spots, check these two factors:
-
Voltage vs. Hand Speed: If your lines look like a series of dots, your voltage is too low for your hand speed. Turn up the power or slow your hand down.
-
Needle Hang and Depth: If the line is solid in some spots but disappears in others, you might be struggling with consistent depth. Adjust your needle hang so you have a clear view of the needle tip at all times. This visibility allows you to maintain a steady depth and control your "pathway" without guessing where the needle meets the skin.
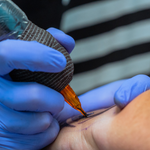
Achieving Solid Saturation and Smooth Shading
From a creator’s perspective, the goal is flawless execution where the ink looks like it belongs in the skin.
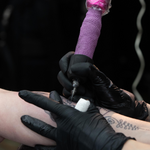
Mastering the Pack
In getting a solid color saturation in tattooing, consistency is everything. For packing, you want a steady voltage—usually mid-range—combined with a slower, more deliberate hand speed.
Using a "small circles" or "tight oval" motion allows the needle to saturate every millimeter of the dermis. If you move your hand too fast while packing, you’ll leave behind "holidays" or gaps in the color. By keeping your voltage consistent and your hand speed slow, you ensure the skin is fully saturated without needing to go over the same area multiple times.

Finesse in the Fade
For tattoo machine setup for shading, the strategy shifts. You want to avoid creating a hard edge, which means you need less "bite" from the needle. This is where lower voltage or using a machine with adjustable settings becomes a game-changer.
Lowering the power allows you to layer your transitions. Instead of a solid block of pigment, each pass deposits a light "wash" of ink. This "soft hit" approach allows you to build depth gradually without overworking the tissue. When you use the right tattoo machine setup for shading, you can achieve those airbrushed transitions that make a piece truly stand out.
The Result: Vibrancy and Healing
The ultimate effect of balancing these settings is reduced skin trauma. When you aren't fighting the machine to get the ink in, the skin stays calm. This leads to faster healing times, less scabbing, and colors that stay bright and crisp long after the tattoo has settled.
Preventing Blowouts and Patchy Results
Every artist fears the blowout, but it is a risk you can manage once you understand the mechanics. Blowouts and patchy saturation are almost always a result of a disconnect between your settings and the specific area of skin you are working on.
The Blowout Cause
A blowout happens when ink is deposited too deeply, hitting the fatty layer beneath the dermis, where it spreads uncontrollably. This is usually caused by a "perfect storm" of high voltage, a deep needle hang, and heavy-handedness on thin skin. Areas such as the inner arm, ribs, or the tops of the feet are high-risk zones. If your machine is running hot and your needle is out too far, even a slight over-adjustment in depth can lead to a permanent mistake.
The Patchy Cause
Patchy results are the opposite problem. Patchiness happens when your voltage is too low to push the ink into the proper dermal layer, or when your hand speed is too fast for the machine's cycle. This creates a "pepper" effect or "holidays" where you want a solid color. If you see the ink fading or looking "gray" as soon as you wipe, your power delivery isn't matching the skin's resistance.
Pro Tip: Always test your "throw" and hit on synthetic skin before you touch the client. This lets you feel the vibration and observe the needle’s behavior, so you can adjust your voltage before the first pass.
Finding Your Sweet Spot on Synthetic Skin
The best way to master these settings is through relentless practice. You shouldn't wait for a client to be in your chair to experiment with a new tattoo machine stroke and your speed behavior. Synthetic skin is your playground for technical growth.
Actionable Advice for Your Next Practice Session
just tattoo a design. Dedicate a sheet of practice skin to testing the limits of your machine:
- Test Your Speed: Pull five lines at 7V, then five at 9V, using the same hand speed. Notice which one is crisper and which one snags.
- Feel the Vibration: Switch between a 2.5mm and a 4.2mm stroke. Pay attention to how the machine feels in your hand and how much more "bite" the longer stroke has.
- Visualize Saturation: Try to pack a solid 1-inch square of color. If it looks "peppery," slow your hand down or slightly bump the voltage until the fill is solid.
Push your equipment to its limits on practice skin so you know exactly how it will behave on a human canvas. When you understand the "why" behind your settings, you stop guessing and start creating with the confidence of a master.
Find Gear That Moves With You
Mastery starts with having tools you can trust on every pass. Your machine should be an extension of your hand, not a hurdle you have to overcome. Opens a new windowWe build professional tattoo machines designed for precision, power, and the relentless consistency that serious artists demand. Step up, stand out, and create something legendary. Check our tattoo machine collectionOpens a new window today!